Are you looking for the ideal microcement kit for your next renovation but don’t know where to start? It’s important to keep in mind that depending on the room (bathrooms, kitchens, exteriors) or the surface to be coated (floors, walls, furniture), the application methods, tools, and necessary materials can vary.
Each space has its own characteristics, and therefore requires a specific kit to ensure an aesthetic and durable finish. We understand that finding the perfect solution can be challenging, but we make it easy for you here, with clear, direct, and accessible information.
So, if you want to discover which Cementec microcement kit is best suited for your project and how to apply it correctly for optimal results, keep reading this article. With these tips, your renovation project will be a success. Let’s get started!
What does the microcement kit include?
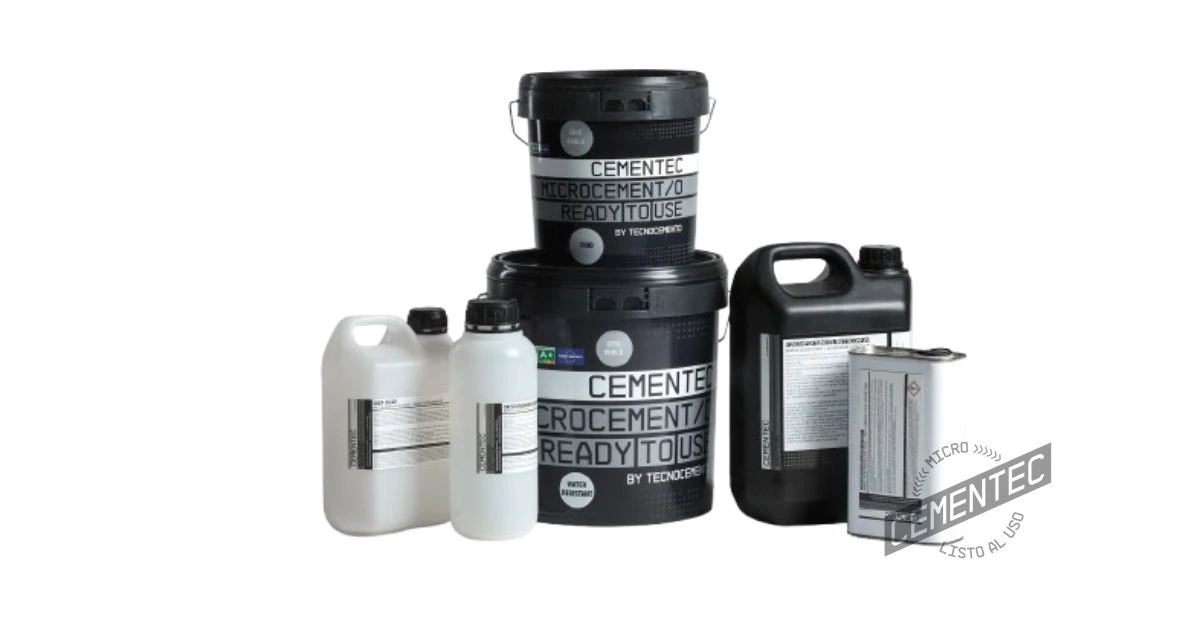
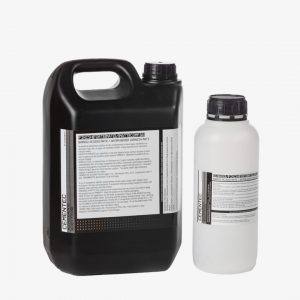
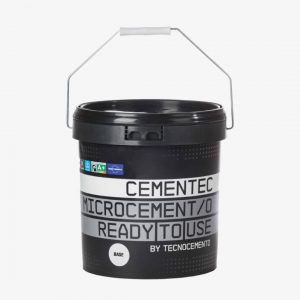
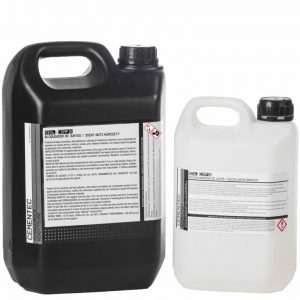
A microcement kit contains all the necessary materials to achieve a professional and high-quality application. Typically, it includes base microcement and fine finish microcement, formulated with minerals and acrylic resins. It also comes with pigments to customize the color and primer to properly prepare the surface.
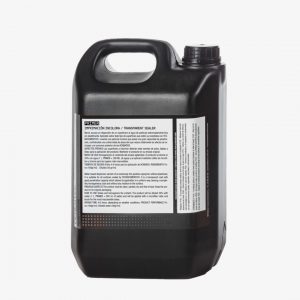
To ensure a durable finish, the kit also usually includes a reinforcement mesh for specific surfaces, pore-filling sealer that prepares the material for the final varnish, and a protective varnish that seals the microcement, protecting it against moisture and wear.
Tomás Amat, architect, creative and manager of Cementec
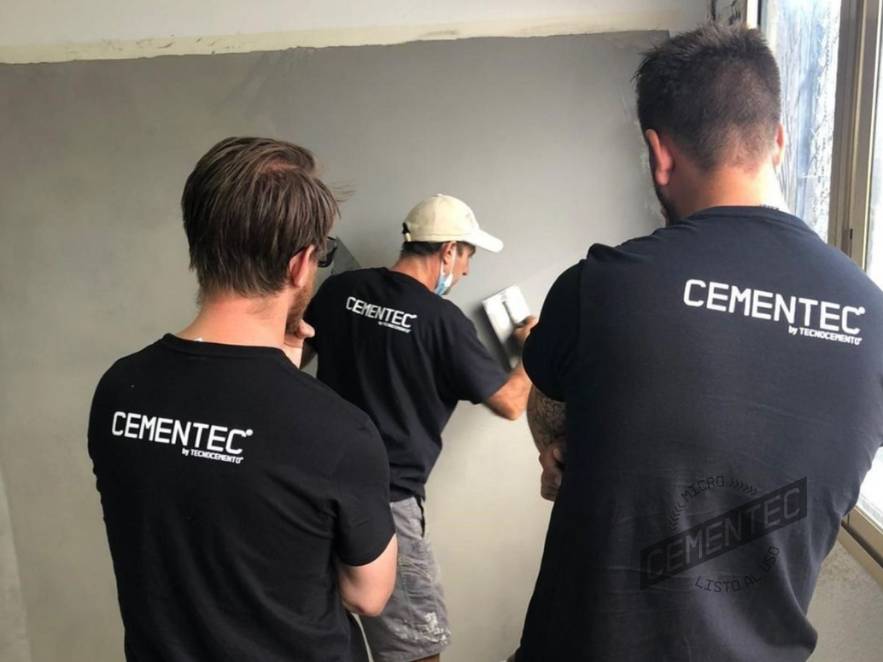
Along with the materials, the kit includes essential tools such as flexible steel trowels for an even application and microfiber rollers for a perfect, mark-free seal. All of this ensures that the application is durable and adapts to different surfaces, whether floors, walls, or furniture.
Explore various Cementec microcement kits according to your needs

As mentioned before, each surface requires a specific approach to achieve optimal results. At Cementec, we’ve developed a range of customized kits tailored to the unique characteristics of each space, whether it’s bathrooms, kitchens, exteriors, or other areas of the home.
To select the right microcement kit, we simply need to know the surface to be coated and the area where the microcement will be applied. With this information, our technical team has developed a guide so you can easily understand everything you need for applying Cementec ready-to-use microcement in simple steps.
Discover the complete kit for your microcement renovation right away!
Microcement kit for smooth surfaces (plasterboard, gypsum, or MDF) and furniture
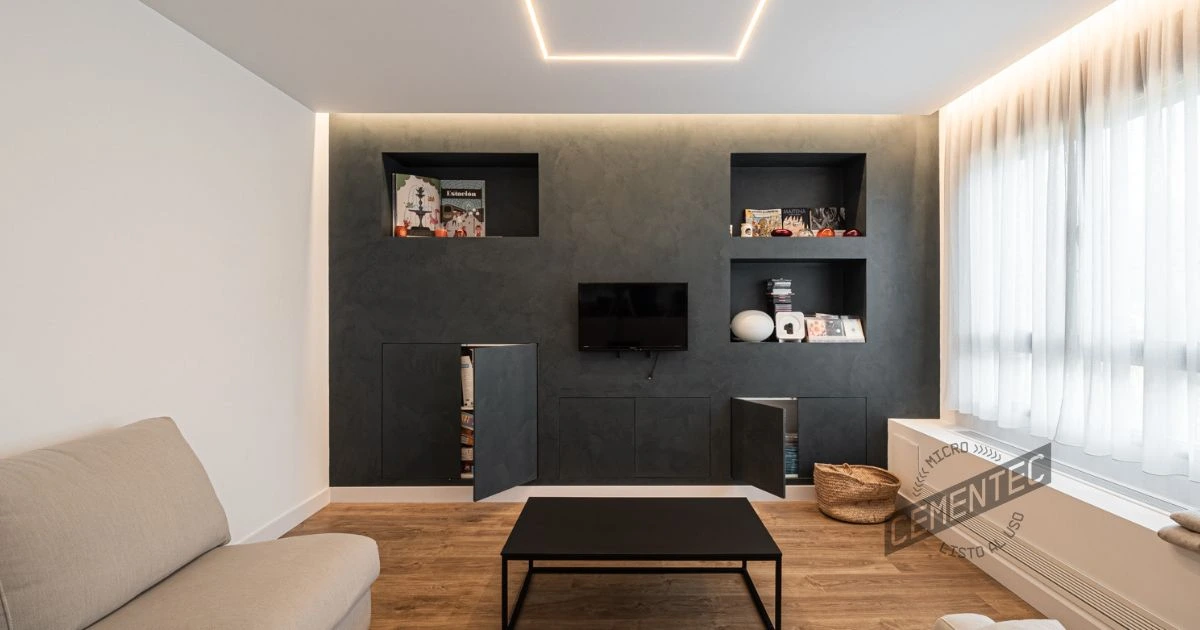
Firstly, to apply Cementec ready-to-use microcement on smooth surfaces such as plasterboard, gypsum, or MDF, as well as on furniture (TV furniture, tables, etc.), it is essential to use the right materials to ensure a uniform and durable finish. These types of surfaces, thanks to their perfect flatness, are prepared “as if for painting” and allow the application process to be simpler and faster.
Here we detail the materials included in our microcement kit to correctly coat these smooth surfaces:
You will also need the following tools:
- 1 Flexible steel trowel.
- 2 Microfibre rollers.
- 1 Flat painter’s brush.
- 1 masking tape.
- 1 Plastic bucket.
Preparation of the smooth surface for mcrocement application
- Surface preparation: Prepare the surface as if it were to be painted, which involves filling, taping, and sanding. Use 80-grit sandpaper for central areas with an orbital sander and a spatula for adjacent areas.
- Purpose of sanding: This process removes imperfections, leaving the surface flat and level to ensure better application of subsequent products.
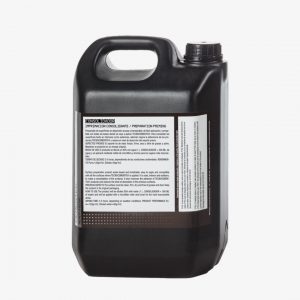
- Mixing the Consolidator: Dilute the consolidator with 30% water (300 ml of water per liter of consolidator) in a clean, wide bucket. The consolidator cleans, consolidates, and strengthens the surface, improving the adhesion of future layers.
- Applying the Consolidator: Mix the product with a brush or low-speed mixer, and let it sit for 2-3 minutes to remove bubbles. Apply with a short-haired microfiber roller and use a brush for hard-to-reach areas.
- Drying and coverage: Wring out the roller in the bucket to avoid excess product, ensuring even coverage. The drying time is 3 to 4 hours, and this preparation should be done on both horizontal and vertical surfaces. The product coverage is 20 m² per liter.
Application of Standard Microcement on smooth surfaces and furniture
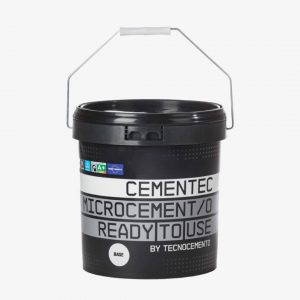
- Base layer application: Place fiberglass mesh cut to the necessary size for reinforcement. Apply two layers of Cementec Base using a metal trowel, with a coverage of 1 kg/m² per layer. Lightly scrape the first layer once it dries.
- Fine layer application: Apply two layers of fine microcement with a rounded-edge metal trowel, using 0.5 kg/m² per layer. Sand carefully between layers, first with 80-grit sandpaper and then with 180-grit for a perfect finish.
- Application of finishing varnish: Use a primer diluted with 20% water. Once dry, apply Finish Forte or Finish Forte Plus in a 5:1 ratio, with a drying time of 4-12 hours depending on the product.
Application of Water-Resistant Microcement on smooth surfaces and furniture
- Use of fiberglass mesh: In the first base layer, reinforce with a fiberglass mesh of 145 grams/m². Cut the mesh according to the area to be coated and secure it with masking tape on the walls.
- Application of Cementec Base: Mix the product and apply it in two layers using a metal trowel, ensuring a smooth and levelled surface. Scrape the first layer when it’s almost dry, then apply the second. Sand with 40-grit sandpaper after drying.
- Application of Water-Resistant Microcement: Stir and apply two layers with a coverage of 0.6 kg/m² per layer, using a rounded-edge trowel. Sand the first layer with 80-grit sandpaper after 4-6 hours of drying, and the second layer after a minimum of 24 hours of drying.
- Final finish: Apply a primer diluted with 20% water to seal the surface before applying the topcoat (Finish Forte or Forte Plus). Mix the topcoat in a 5:1 ratio, apply with a microfiber roller, and allow 4-12 hours of drying time depending on the product.
Microcement Kit for cement surfaces

If you’re interested in properly applying Cementec microcement on a cement surface, whether it’s a self-levelling mortar or a concrete floor, having the right tools is essential.
Below is the complete microcement kit and the steps you need to follow for a flawless finish:
The tools necessary for proper implementation would be:
- 1 Flexible steel trowel.
- 2 Microfiber rollers.
- 1 Flat painter’s brush.
- 1 Masking tape.
- 1 Plastic bucket.
Preparation of the cement surface for coating with Microcement
- Protection of adjacent areas: Before starting, cover nearby areas with masking tape and plastic.
- Surface preparation: Sand the surface with 80-grit sandpaper and use a spatula for difficult areas. For central areas, it is recommended to use an orbital sander. This removes imperfections and levels the surface.
- Crack repair: If there are significant cracks, repair them beforehand and wait at least 1 week before applying Cementec microcement.
- Application of consolidator: Dilute the consolidator with 30% water (300 ml per liter). Mix with a brush or low-speed mixer and let it rest for 2-3 minutes. Apply with a microfiber roller, using a brush for hard-to-reach areas.
- Drying and coverage: Wring out the tools well to avoid excess product and cover the entire surface evenly. The drying time is 3-4 hours, applicable to both floors and walls.
Application of Standard Microcement on cement surfaces
- First layer (Base Microcement): Place fiberglass mesh (145 g/m²) for reinforcement. Apply the base with a metal trowel held at a 45-degree angle, using 1 kg/m² per layer. Allow it to dry and apply the second layer in the same manner. Sand the surface with 40-grit sandpaper after drying.
- Second layer (Fine Microcement): Stir the fine microcement and apply it with a rounded-edge metal trowel (0.5 kg/m² per layer). Sand with 80-grit sandpaper after 4-6 hours of drying and repeat the process for the second layer. After a minimum of 24 hours drying, perform manual sanding with 180-grit sandpaper.
- Varnish application: Apply a layer of primer diluted with 20% water to homogenize and seal the surface. After a drying time of 3-4 hours, apply the finish (Finish Forte or Finish Forte Plus). Mix the components in a 5:1 ratio and apply with a microfiber roller. Allow 4-12 hours of drying time between coats, depending on the product.
- Traffic ready: After the second layer of the finish, the surface will be walkable in 24 hours. However, it is recommended to wait 72 hours with protection (such as cardboard or geotextile) before working on the floor.
Application of Water Resistant microcement on cement surface
- Application of Cementec Base: Place a fiberglass mesh (145 g/m²) for reinforcement. Cut the mesh to fit the area to be coated and apply the base using a metal trowel held at a 45-degree angle. Apply 2 layers (1 kg/m² per layer), allowing for the appropriate drying times between layers.
- Sanding the base: Sand the layer with 40-grit sandpaper, using an industrial vacuum if necessary to avoid dust. Manually sand the corners and difficult areas.
- Application of Water-Resistant microcement: Apply 2 layers at 0.6 kg/m² per layer, using a rounded-edge metal trowel. After 4-6 hours of drying, sand with 80-grit sandpaper. Apply the second layer and, after 24 hours, manually sand with 80-grit sandpaper for a perfect finish.
- Application of Varnish: Apply a primer diluted with 20% water using a microfiber roller. After 3-4 hours of drying, apply the finishing coats (Finish Forte or Forte Plus). Mix the components in a 5:1 ratio and allow drying between 4-12 hours depending on the product. The floor will be walkable in 24 hours; it is recommended to wait 72 hours before working on it.
Microcement Kit for surfaces with Joints (Ceramic, Porcelain, etc.)
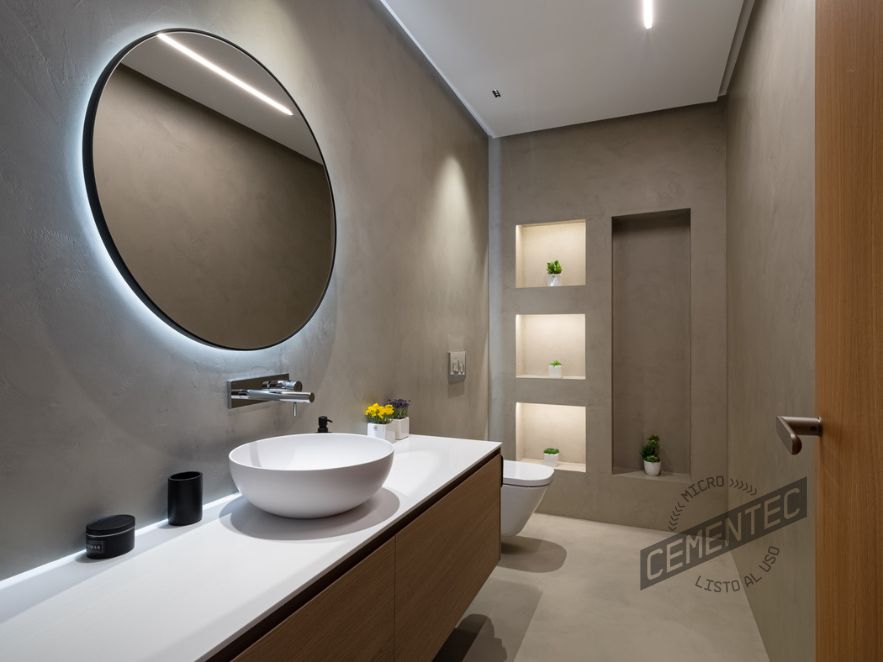
Lastly, if you want to apply microcement to a surface with joints, such as ceramic, porcelain, tile, or marble, it is necessary to follow a specific preparation process and use essential materials.
This is due to the particular characteristics of jointed floors, which require different treatment compared to smooth surfaces. For this purpose, Cementec has designed a specific microcement kit, which includes:
Thus, the tools required for a correct implementation would be:
- 1 Flexible steel trowel
- 2 Microfiber rollers
- 1 Flat painter’s brush
- 1 Masking tape
- 1 Plastic bucket
Preparation of jointed surfaces for microcement application
- Protect adjacent areas: Before starting, use masking tape to cover adjacent areas and prevent staining.
- Inspect the surface: Examine the surface for loose or damaged tiles. Replace defective pieces or fill any gaps with a fast-setting mortar if necessary.
- Fill the joints: For joints smaller than 5 mm, use fine cement; for larger joints, apply base cement. Mix the product with a mixer or drill with a mixing paddle to achieve a homogeneous mixture.
- Sanding and leveling: Once the filler material has dried (4-6 hours), sand gently to level the surface. Ensure a smooth finish without over-sanding.
- Apply the sealer: Mix the epoxy sealer in a 5:2 ratio (5 kg of component A and 2 kg of component B). Using a microfiber roller, apply a uniform layer at 150 g/m². Use a brush for hard-to-reach areas. Allow it to dry between 12 and 24 hours before proceeding.
Application of Standard Microcement on jointed surfaces
- Base application: Lay fibreglass mesh (145 g/m²) and apply two coats of cement base (1 kg/m² per coat) with a metal trowel. Sand lightly after drying to remove possible flaws. Wait one day for proper drying and sand again with 40-grit sandpaper.
- Application of Microcement Fino: Mix and apply two coats of Microcemento Fino (0.5 kg/m² per coat) with a rounded-edged metal trowel. Sand carefully between coats, using 80 and 180 grit sandpaper respectively.
- Finishing: Apply a Primer diluted with 20% water, using a microfibre roller. After drying for 3-4 hours, apply the finish (Finish Forte or Finish Forte Plus) at a ratio of 5:1. Drying time between coats varies from 4 to 12 hours. After the second coat, the floor can be walked on in 24 hours, we recommend waiting 72 hours with protection.
Application of Water Resistant Microcement on jointed surfaces
- Application of Cementec Base: Place a fibreglass mesh (145 g/m²) for reinforcement. Apply two coats with a metal trowel inclined at 45 degrees, using 1 kg/m² per coat. Sand lightly once the first coat is dry and repeat the process for the second coat. Clean tools and wait 24 hours for final drying.
- Application of Cementec Water Resistant: Mix and apply two coats of 0.6 kg/m² per coat using a round-edged metal trowel. Sand after 4-6 hours with 80 grit sandpaper and repeat for the second coat after 24 hours drying time.
- Finish: Apply the primer diluted with 20% water and, once dry (3-4 hours), use a roller to apply Finish Forte or Forte Plus. Mix at a ratio of 5:1, with a drying time of 4-12 hours between coats. The floor will be trafficable after 24 hours, although it is recommended to wait 72 hours.
Conclusions
In conclusion, as we’ve seen, Cementec’s microcement kits offer comprehensive and versatile solutions for renewing any space in your home, adapting to the specific characteristics of each surface. Whether it’s for bathrooms, kitchens, exteriors, floors, walls, or even furniture, the materials and application process generally remain consistent, with only a few products varying according to the type of substrate.
The key to successful application of ready-to-use microcement lies in carefully following the preparation, application, and finishing steps, using the appropriate materials for the selected kit. Remember, with our ready-to-use microcement kits, you can achieve an aesthetic, durable, and resistant result, even if you’re not a professional, as long as you follow the detailed instructions.
We hope this guide has helped you understand which microcement kit is best suited for your project and how to apply it correctly. No matter the type of surface or room, Cementec has the perfect solution to achieve an elegant and secure finish.
Contact us! Request your complete applicator kit and start transforming your spaces with the unique touch of microcement!
Did you find this article about the different microcement kits for various surfaces and spaces interesting? Share your opinions on our social media and let us know your recommendations or results after application.
