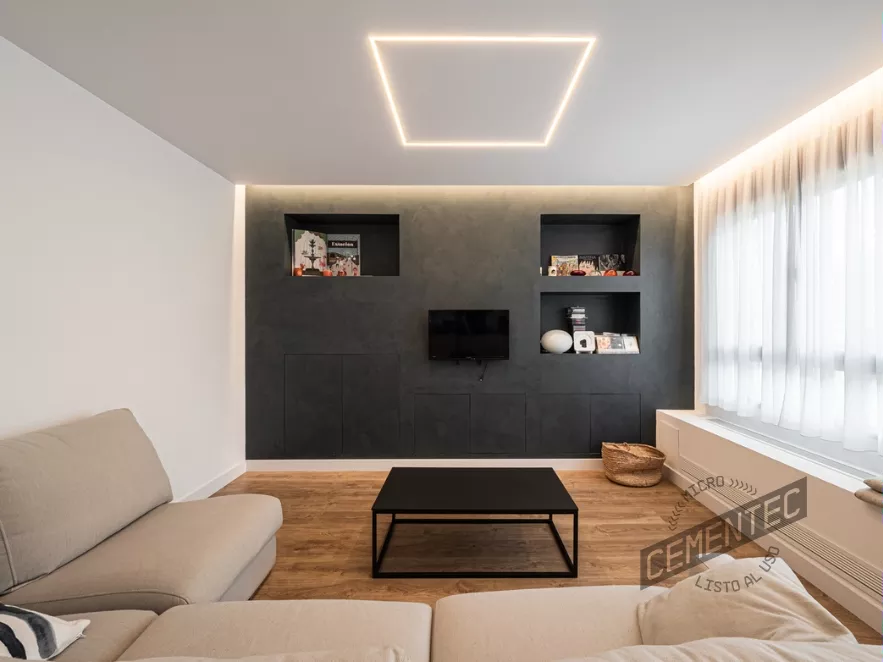
Are you looking to improve the appearance of your interior spaces with plasterboard? Microcement on plasterboard is the ideal solution to achieve smooth, joint-free surfaces, offering durability and versatility in any decoration project.
Thus, the plasterboard finish, a lightweight and easy-to-install material, has excellent insulating properties and, when combined with microcement, a resistant and visually attractive surface is obtained, which adds a contemporary touch to any environment. This combination has become popular due to its ability to renovate interiors quickly and effectively.
So, if you want to give your surfaces a new look and want to know how to apply microcement, continue reading this article. In it, we offer you a detailed and easy-to-follow guide to achieve professional finishes in a very short time.
What are you waiting for? Get your hands on the microcement!
Microcement on plasterboard: everything you need to know when carrying out your renovation
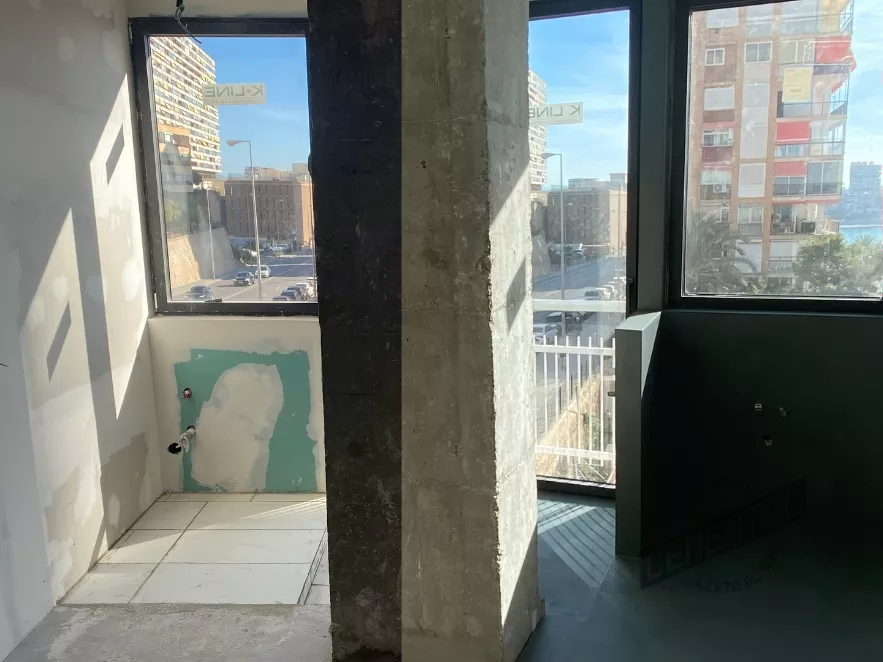
For those who are new to the use of ready-to-use microcement, plasterboard is an excellent option for cladding. Its smooth and stable surface makes it easy to apply, making it the ideal substrate to start working with this material.
It is also important to bear in mind that each surface has a different absorption capacity when applying microcement, and plasterboard is no exception. Due to its high absorption, variations in the shade of microcement may occur depending on the installation conditions. Therefore, it is essential to have experience in the application and to follow the manufacturer’s instructions to the letter to achieve a uniform and high-quality finish.
Cementec ready-to-use microcement stands out for its versatility, as it can be applied on various surfaces: tiles, plaster, cement and even wood. However, it is essential to ensure that the base is completely stable before proceeding with the application to avoid future problems.
Tomás Amat, architect, creative and manager of Cementec
Advantages of covering a surface with microcement on plasterboard
Accordingly, covering plasterboard surfaces with this decorative coating has a number of advantages, which we will now explain so that you can assess whether it is useful for your next renovation:
- No construction work and no rubble: that is, you can enjoy an extremely clean and fast application process. It does not require demolitions or structural modifications, which means that you can avoid the noise, dust and inconvenience typical of construction work. This is especially beneficial in inhabited homes, where the goal is to minimize interruptions and maintain a comfortable environment during the renovation. Likewise, associated costs and time spent are reduced.
- No joints: microcement on plaster or plasterboard is applied in large sections without the need for additional joints, creating a continuous and uniform appearance. This not only improves the aesthetics of the space, but also makes cleaning and maintaining the microcement easier, as there are no cracks where dirt can accumulate.
Prepare your equipment before you start covering the plasterboard with Cementec microcement
What do you think? Have we convinced you? If so, and you don’t know where to start, don’t worry. At Cementec we have provided a list of materials, equipment and products necessary for the correct application of microcement in plasterboard.
Materials needed to protect the surface that is not going to be coated
- Corrugated cardboard and black plastic: to protect the floor where we are going to apply the microcement, to prevent it from getting stained, product falling or liquids leaking onto the pavement.
- Masking tape: essential adhesive tape to cover all the joints where ready-to-use microcement has to be applied together with other finishes.
Materials required to apply microcement on plasterboard correctly
| Materiales para aplicar microcemento en pladur | Equipo de protección para garantizar un trabajo efectivo |
|---|---|
| Bucket. | Dust mask. |
| 3 units of 22 cm microfibre roller. | Gloves. |
| Brush. | Protective cap. |
| 24×10 cm trowel, large trowel. | Knee pads. |
| 6 to 10 cm spatula. | Appropriate footwear. |
| Cutter. | Clean work clothes. |
| Orbital sander with 40, 80 and 180 grit sandpaper. | |
| Vacuum cleaner or dustpan and broom. | |
| Mixer or drill with mixing rod. |
Cementec application products to be used
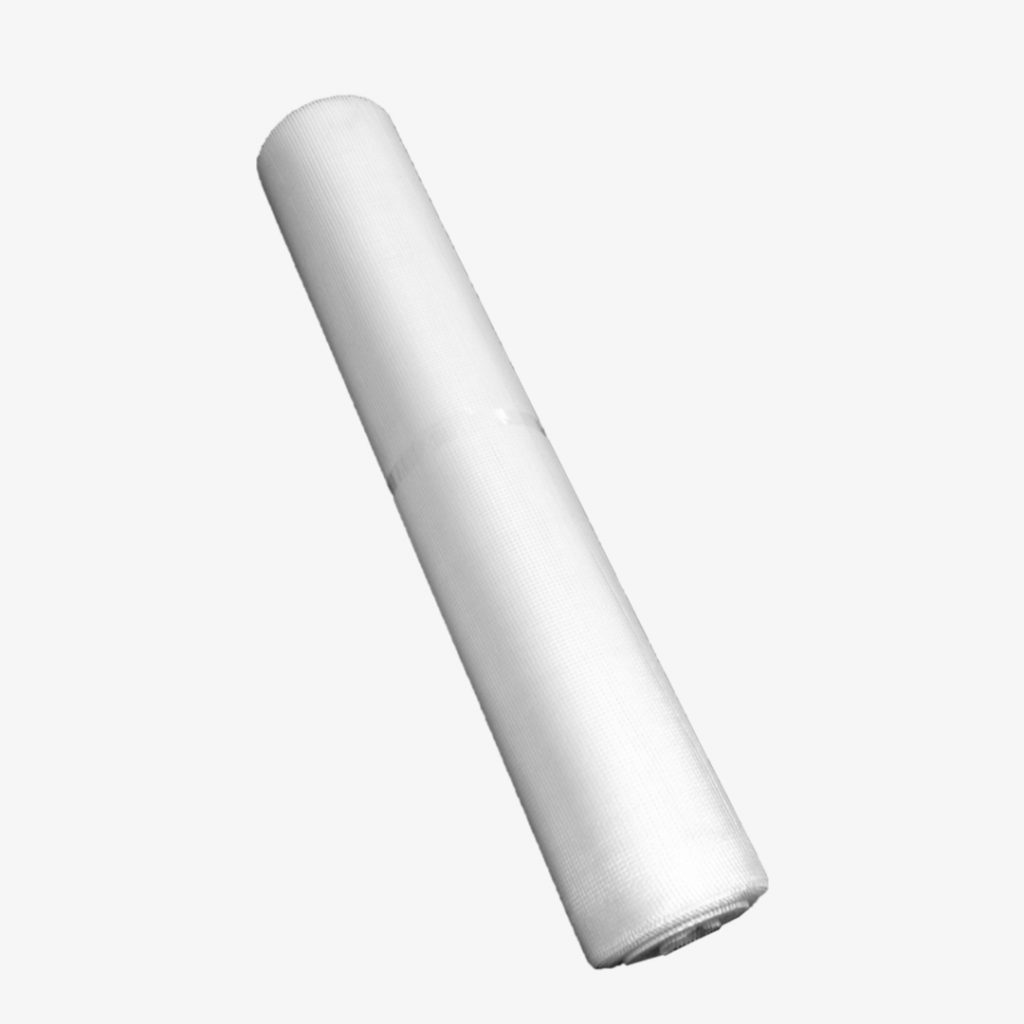
Fiberglass mesh (depending on the surface condition): if the plasterboard does not have any cracks and is well puttied, this product would not be necessary.
Consolidator: essential liquid consolidating sealer to contribute to the cleaning of the support and to a better adhesion.

Base Microcement (depending on the surface condition): as with the fiberglass mesh, if the support is perfectly taped and puttied, its application may not be necessary.
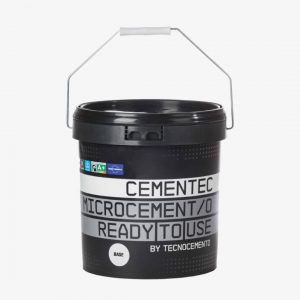
Fine Microcement: always in 2 layers, with their corresponding drying and sanding.

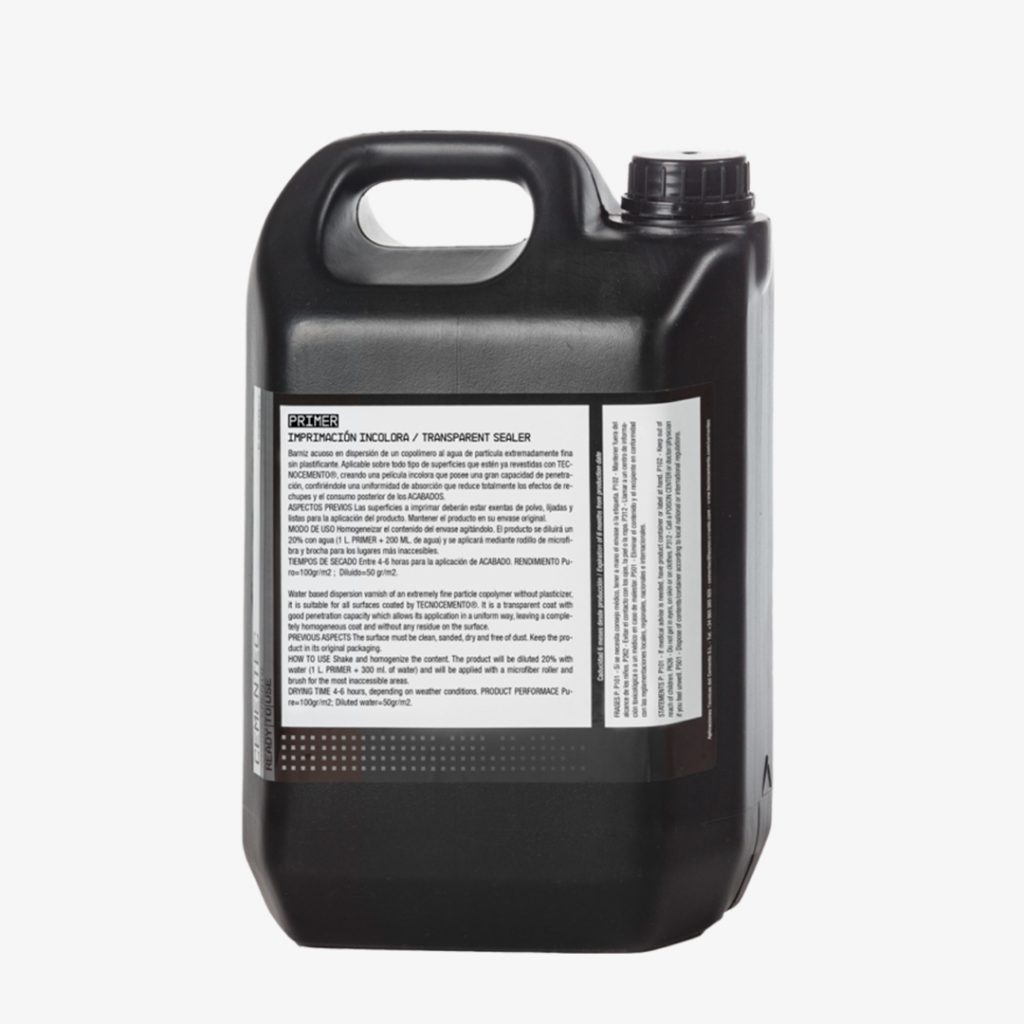
Primer: preparation for the application of polyurethane varnish.
Finish Forte: two-component varnish that provides protection with a natural aesthetic of matte, satin or gloss finish.

5 essential steps for applying microcement on plasterboard
Do you have everything? It’s time to tile! But not before showing you a summary video in which our colleague Paula, from the Cementec technical team, comments in a more interactive and extensive way what we are going to summarize immediately.
Learn our step-by-step application guide for Cementec ready-to-use microcement on plasterboard. Don’t miss the video to acquire more knowledge!
1. Surface preparation: puttying, taping and sanding
Surface preparation is essential to ensure a flawless finish when applying microcement in plasterboard. The first step is to make sure that the plasterboard sheets are properly taped and puttyed.
This means that all the joints between the sheets must be covered with special tape and a layer of putty that unifies the surface. Once the putty is dry, it is essential to sand the entire surface to remove any imperfections and achieve a completely smooth finish.
This sanding process is key: when you run your hand over the surface, you should not feel any irregularities or unevenness. If you detect any defects, they must be corrected before proceeding with the application of the microcement.
In addition, it is important to prepare the work environment: remove any objects that may interfere with the application process and protect the floor and adjacent surfaces with cardboard or plastic to avoid accidental stains.
2. Mix and apply Cementec Consolidator on the surface
After properly preparing and levelling the surface, the next step is to apply Cementec Consolidator. This product is an aqueous primer that acts as an adhesion promoter and fixative, essential to ensure that the microcement adheres firmly to the plasterboard.
To begin, it is necessary to mix the Consolidator with water in a proportion of 20 to 30%, which is equivalent to adding between 200 and 300 ml of water for each litre of Consolidator. This dilution is essential to allow better penetration of the product into the surface and to ensure that any loose particles or residual dust are fixed. The exact proportion of water will depend on the porosity of the support; more absorbent surfaces will require a greater dilution.
Once mixed, apply the Consolidator evenly over the entire surface using a brush or roller. Make sure to cover all areas, especially in corners and joints, where full adhesion must be guaranteed. Allow the Consolidator to dry completely before proceeding with the application of the cement for plasterboard. This process minimises the risk of future problems during and after the application of the microcement.
3. Prime 2 layers of Base Cementec microcement while applying a fiberglass mesh
When working on plasterboard fibre-finishing that have cracks, irregularities or are prone to structural movements, the application of a fibreglass mesh together with two layers of Base Cementec microcement is highly recommended. This approach provides additional reinforcement, crucial to prevent the appearance of cracks in the microcement and ensure a more stable and durable finish.
If this system is to be applied, first spread a layer of Base microcement on the prepared surface. While this layer is still fresh, place the fibreglass mesh, making sure that it is well spread and without folds. Then, apply a second layer of Base microcement, completely covering the mesh. This step is essential to integrate the mesh into the coating and guarantee its reinforcing function.
If the surface on the plasterboard is perfectly prepared and does not present any risk of movement or cracks, it is possible to omit the mesh and proceed directly with the application of the layers of Fine Microcement, especially on vertical surfaces where the structural requirements are less.
Tomás Amat, architect, creative and manager of Cementec
4. Sand, clean and coat with Cementec Fino microcement
With the surface perfectly sanded and clean, it’s time to apply the layers of Fino microcement. Use a stainless steel trowel to spread the ready-to-use microcement evenly, making sure to cover the entire surface without leaving any visible marks.
Allow the first layer to dry according to the manufacturer’s instructions, and then repeat the process with a second layer to obtain a flawless finish. Between both layers, it is advisable to perform a light sanding to ensure maximum smoothness and adhesion.
When finished, allow the surface to dry completely before applying any type of sealant or additional protection. This process ensures that the Fino microcement fulfills its decorative function, providing a durable and resistant finish on plasterboard that enhances any environment.
5. Apply the finishing varnishes: Primer and Finish Forte
To complete the microcement application process, it is necessary to apply the surface sealer followed by a Finish Forte polyurethane varnish. This final step protects the surface against wear, moisture and stains, ensuring that the microcement maintains its appearance and functionality over time.
Conclusions
As we have seen, plasterboard surfaces has established itself as one of the most optimal and recommendable bases for the application of microcement, thanks to its stability and versatility. This material is widely used in construction, both in refurbishments and in new construction works, due to its ability to create room separations and decorative elements such as furniture or benches.
By choosing to cover your plasterboard wall or floor with Cementec ready-to-use microcement, you have already made 50% progress towards the success of your project. The quality of the base is decisive for a perfect application of the microcement. However, it is not enough to have a good substrate, it is essential that it is properly prepared.
It is also important to have the experience and knowledge of Cementec’s microcement applicators, as they can save you headaches and guarantee a perfect, harmonious and quality finish.
Take a step closer to achieving the home of your dreams. Contact us!
Did you find this article about microcement in plasterboard interesting? Share your opinions on our social networks and send us your recommendations or results after application.